If you are a beginner tattoo artist or just starting out in your tattooing career, one issue you may face is setting up your tattoo gun. Making any error while setting up the tattoo gun or not being able to adjust it properly could affect the tattoo design you create. So, if you are someone who is trying to figure out how to set up a tattoo gun, then you have come to the right place.
Now, why is it so crucial to nail the setup? Let’s say you got an awesome design in your head, the perfect canvas is waiting, but if your tattoo gun isn’t properly set up, well, let’s just say it won’t be a masterpiece. Just like a painter needs brushes and a chef needs trusty knives, a tattoo artist needs a well-tuned machine to make their vision come to life. In today’s article, I will be providing a step-by-step guide on how to set up a tattoo gun and more.
Key Takeaways
- To set up a tattoo gun first, choose all the components, sanitize your hand, connect the components properly, and make sure to test on fake tattoo skin before you tattoo your client.
- There are two types of tattoo guns out there, one is a rotary tattoo gun and the other one is a coil tattoo gun.
- The reasons to set up a tattoo gun properly are to prevent a tattoo blowout, provide saturation of the tattoo, safety, consistency, comfort, professionalism, etc.
9 Ways to Set Up a Tattoo Gun
Follow the step-by-step guide below to set up your precious tattoo gun properly. Rotary tattoo machines are the most popular tattoo machine, so I will be providing a guide on how to set up a rotary tattoo pen or gun in this portion.
1. Choose all the parts
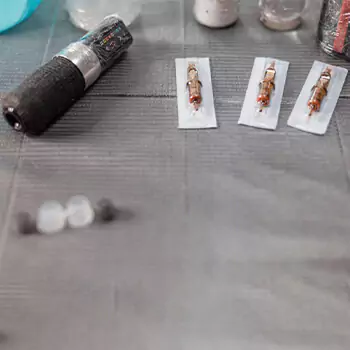
Choosing and having all the crucial parts is a must. If you miss any component or parts then you might not be able to run the tattoo gun. In this case, you may go for a beginner-friendly tattoo kit. These kits usually contain all the parts you will need to set up your tattoo gun and use it. If you want to purchase the parts separately then make sure to get the following parts and don’t miss even a single one.
- Power supply
- Foot pedal
- Tattoo needle
- Tattoo gun
- Power cable
- Shader cable/tattoo gun cable
These are the parts you will need to set up and run the tattoo gun. And to tattoo you will need tattoo ink, a disposable cup, and a few other things.
2. Wash your hands

After making sure you got all the necessary parts before you assemble them or set up your tattoo gun you should wash your hand. Your hand may contain germs, bacteria, or dirt which could contaminate the tattoo gun. Contaminated tattoo guns could lead to infection and various types of health issues.
3. Insert the needle onto the tattoo gun
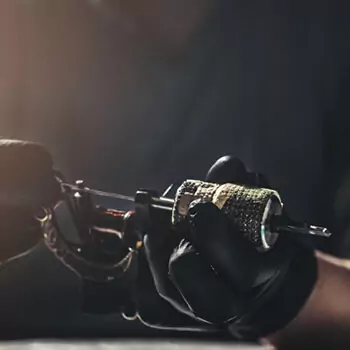
Pick up your preferred tattoo needle and insert it into your tattoo pen or tattoo gun. Just pushing it gently onto the tattoo gun should make it perfectly fit right in.
- Tip: When you are not tattooing, you should keep not expose the tip of the needle. Meaning it should stay inside the tattoo cartridge.
4. Fine-tuning the needle
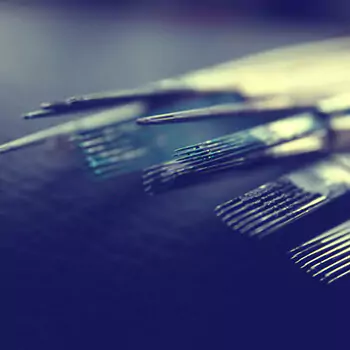
Here’s where the magic happens, my friends. Adjust the needle depth and protrusion to achieve the desired outcome. Think of it as finding the sweet spot, like tuning a guitar string. You want it just right, not too deep, not too shallow. Remember, you are supposed to inject the ink 1.5 to 2 mm deep into the skin. You can twist the grip of the tattoo gun to adjust the needle. Take your time, experiment, and find that perfect balance.
5. Plug in all the cables or jack
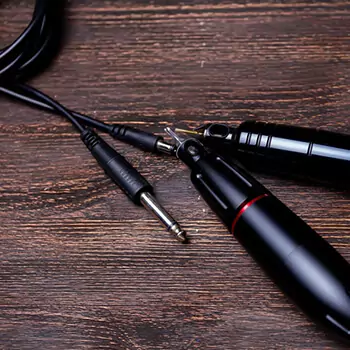
You may have two cables or jacks, one is your for foot pedal and one is for your tattoo gun. First, plug in the foot pedal cable and then plug in the shader cable or tattoo gun cable onto the power supply.
6. Connect to an electric outlet
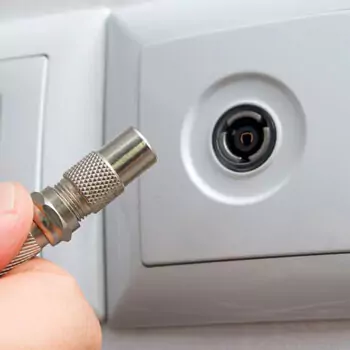
Do not forget that your power supply requires electricity to run. After connecting the crucial cables it is time to connect your power supply to an electric outlet. Just find the power outlet near you can plug in the power supply.
7. Turn on the power supply and adjust the voltage

Locate the power button on the power supply and press it. Then use the dial, regulator, or button on the power supply to adjust the volume according to your need. The recommended voltage is around 6 to 8 volts for tattooing.
8. Insert tattoo ink
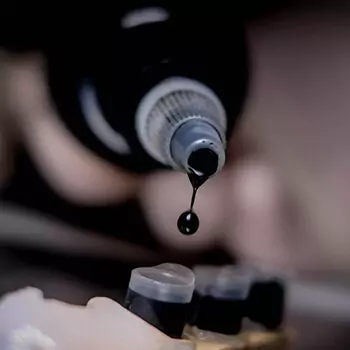
Your tattoo gun is ready to use but to use it you will need some tattoo ink. Turn on the tattoo gun and hold the running gun or needle into the tattoo ink that you have placed on a disposable cup and let the tattoo gun absorb some ink.
9. Test and adjust
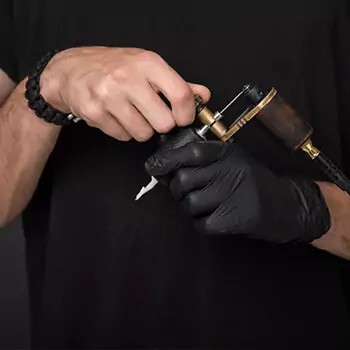
Now, use the tattoo gun to tattoo on fake skin. This way you can tell if you have successfully set up your tattoo gun or if you still need to make some adjustments.
See Also: Best Wireless Tattoo Gun
Tattoo Gun: Everything You Need To Know
Tattoo guns or also known as tattoo pens are relatively small like a stick or pen. You hold tattoo guns on your hand and tattoo on the client’s skin for hours. Sometimes tattoo session can take up to 7 hours. So, obviously, these tattoo guns must be lightweight and easy to hold for a longer period of time. Usually, you will see two types of tattoo guns being used by professional tattoo artists. Which are:
- Rotary tattoo gun
- Coil tattoo gun
Both are quite popular but rotary tattoo guns have more benefits compared to the coil tattoo gun. This is why day by day the demand for rotary tattoo guns is increasing.
Rotary tattoo gun

Rotary tattoo gun uses a small motor but you will not feel any shortage when adjusting the voltage. Does not matter if you are a beginner tattoo artist or a professional one, if you use a rotary tattoo gun once you will most probably fall in love with it and may not prefer to use other types of tattoo guns anymore. There are many benefits of using a rotary tattoo gun, such as:
- It does not make much noise
- Lightweight
- Easy to operate
- Beginner friendly
- Mostly portable
- Fewer wrist cramps
- Can be used for both shading and lining purposes
- Low maintenance
- Excellent choice for coloring tattoos
But there can be a few drawbacks to rotary tattoo guns. As I said it uses a small motor to function, and it could create difficulty for you if you try to use bigger needles. Because bigger needles require more motor power to tattoo properly.
Coil Tattoo gun

These tattoo machines use a powerful electromagnetic circuit to operate. You will not lack any power or voltage shortage even if you use the biggest tattoo needles on a coil tattoo gun. These tattoo guns are a bit more powerful compared to the rotary tattoo guns. Most old school tattoo artist uses coil tattoo machines and even modern tattoo artist also use it at time. There are plenty of benefits of using a coil tattoo gun, such as:
- Powerful tattoo machine
- Easy to regulate the power of the machine and the speed of the needle
- Wide range of customization
- Faster tattooing process
- Provide more control over the tattoo gun
Coil tattoo guns also have a few drawbacks. And in my opinion, the drawbacks are keeping the coil tattoo guns from getting the number one spot instead of rotary tattoo guns. First of all coil tattoo machine or guns makes loud noise. It may not seem like a big deal for a few minutes, but after a few hours, the buzzing sound will annoy even the person with the most patience. And the tattoo guns are a bit on the heavy side. So, you may feel uncomfortable or get wrist cramps after using it for a while. Another huge drawback is, you have to get a separate coil tattoo machine for shading, lining, and coloring. Basically, you will have to get 3 tattoo guns for 3 types of tattooing.
✨ You May like: Coil vs Rotary Tattoo Machine – Which One To Choose?
7 Reasons to Set Up a Tattoo Gun Properly

There are plenty of reasons why you should set up a tattoo gun properly. Not properly adjusting it or setting it up could lead to various issues, such as:
1. Preventing tattoo blowout
A tattoo blowout is a tattoo appearing blurred or spread out. Meaning the ink would lose the actual shape of the design and would spread and appear distorted. Tattoo blowout can happen for one reason only and that is injecting tattoo ink too deep into the skin.
If you do not adjust the tattoo needle properly then there is a chance you may inject the ink too deep into the client’s skin and cause a tattoo blowout. Try to set up your tattoo gun or needle so that it does not go deeper than 1.5 to 2 mm while tattooing.
2. Saturation of the tattoo
Regardless of the type and color of the tattoo, everyone wants their tattoo to look bold and vibrant. If you fail to set up proper voltage for your tattoo gun then the gun or tattoo needle speed may cause issues. Too fast or too slow needle poking will not provide the ideal saturation of a tattoo that people expect.
3. Safety
Setting up a tattoo gun properly ensures the safety of both the tattoo artist and the client. It reduces the risk of contamination, infections, and other health hazards associated with improperly sanitized equipment or incorrect needle configurations.
4. Consistency
Properly setting up a tattoo gun allows for consistent and predictable results. It ensures that the needle depth, speed, and ink flow are appropriate, leading to clean and well-executed lines, shading, and color saturation.
5. Comfort
A properly set up tattoo gun provides a more comfortable experience for the client. The correct needle configuration and appropriate speed minimize unnecessary pain, skin irritation, and trauma during the tattooing process.
6. Professionalism
Properly setting up your tattoo gun demonstrates professionalism and expertise. It shows that you take your craft seriously, value the health and safety of your clients, and are committed to delivering high-quality tattoos.
7. Efficiency
A well-adjusted tattoo gun allows for efficient tattooing. When the machine is set up properly, the artist can work smoothly and effectively, reducing the time spent on adjustments and ensuring a more streamlined tattooing process.
See Also: Best Tattoo Gun For Beginners
FAQs
Is setting up a tattoo gun necessary?
Yes, it is necessary to set up your tattoo gun properly. Every professional tattoo artist spends quite a bit of time adjusting and setting up their tattoo gun. Because the quality of the tattoo design, tattoo session length, and the amount of irritation the client would feel during the procedure depends on the tattoo gun setup. If you are a beginner tattoo artist then take your time and experiment with your tattoo gun setup to find the exact configuration that will need. Be sure not to test tattoo gun configuration by tattooing on human skin, always test on fake tattoo skin.
How do I sterilize the equipment before setting up the tattoo gun?
Sterilizing the equipment is crucial for maintaining a safe and hygienic tattooing environment. You can sterilize the equipment by using an autoclave, which uses high-pressure steam to kill bacteria, viruses, and other pathogens. Make sure to follow the manufacturer’s instructions and guidelines for proper sterilization procedures.
How do I choose the right needle configuration for my tattoo?
Needle configuration depends on the design and technique you intend to use. For lining, single needles or tight groupings are typically used. Shading may require larger magnum or curved magnum needles, while color packing often utilizes multiple needles arranged in a flat or stacked formation. Consult with experienced artists or refer to tattooing resources to determine the appropriate needle configuration for your desired outcome.
How do I adjust the ink flow and machine speed?
Ink flow is typically adjusted through the machine’s grip or the needle tube. Different machines may have varying methods for controlling ink flow, so consult the manufacturer’s instructions for specific guidance. Machine speed is controlled through the power supply, where you can adjust the voltage to regulate the speed of the needle movement. Start with lower settings and make adjustments based on the desired saturation and effect.
How do I test the tattoo gun setup before starting the tattooing process?
Before tattooing a client, it is essential to perform a test run to ensure that the tattoo gun is set up correctly. Use a disposable surface or practice skin to test
- Machine performance
- Needle depth
- Ink flow
- Machine speed.
Make any necessary adjustments to achieve the desired outcome before beginning the tattooing process.
Final Thoughts
Every tattoo artist should know how to adjust their tattoo gun. It is like a way to show that they are pro at what they do. Clients would not feel confident in a tattoo artist who fumbles to set up their tattoo gun before starting the tattooing procedure. Make sure to do plenty of testing to get the right tattoo gun set up before you start tattooing your clients.
Setting up a tattoo gun is crucial for various reasons. A few of them are reducing the tattoo session length, saving time, making precise tattoo designs, proper tattoo saturation, preventing tattoo blowout, ensuring safety, etc.
✨ Next Attraction: Ensuring Tattoo Hygiene | How To Sterilize Tattoo Equipment?

